Wednesday, October 29, 2014

October 23

Wow has this week gone by so fast. I do apologize for not getting the blog up faster, there's been a lot going on at the moment. Ok our last class we worked on our Oil/Water Resists, and almost everyone got that complete. So pictures will be posted next week as they were still too wet to take photos. And there are a few that still need to soak there papers for the final step.


This is our drawing that has been given a chalk outline to define a sharp line, filled in with oil pastels. Then we used a q-tip and baby oil to blend the oil pastels to given a more unified look.


Then we covered them in a thick layer of black paint. The oil pastels resist the paint for a stunning overall look. This was my sample for the class to see. The class assignment was to use an odd number of leaves in a flowing pattern to draw the eye around the paper.

Then we moved on to designing our "mask" projects. The Fab 5's were asked to pick themes that mainly just needed to be painted. But the Big Hero 6 group need to alter or add to their masks that will go along with their theme.  This week we start our mask projects. So don't forget to wear clothes to get dirty in or an apron as we will be using paints and paper mache paste this class.

Our sketchbook assignment this week is to trace the skull (handout I gave to everyone) and design your own Day of the Dead masks. Research "Day of the Dead" masks if you need ideas or click the link at the bottom of this Blog post. But please only use them for inspiration and try not to copy the exact masks you find. Make the design as original as possible. Remember to think outside the box!

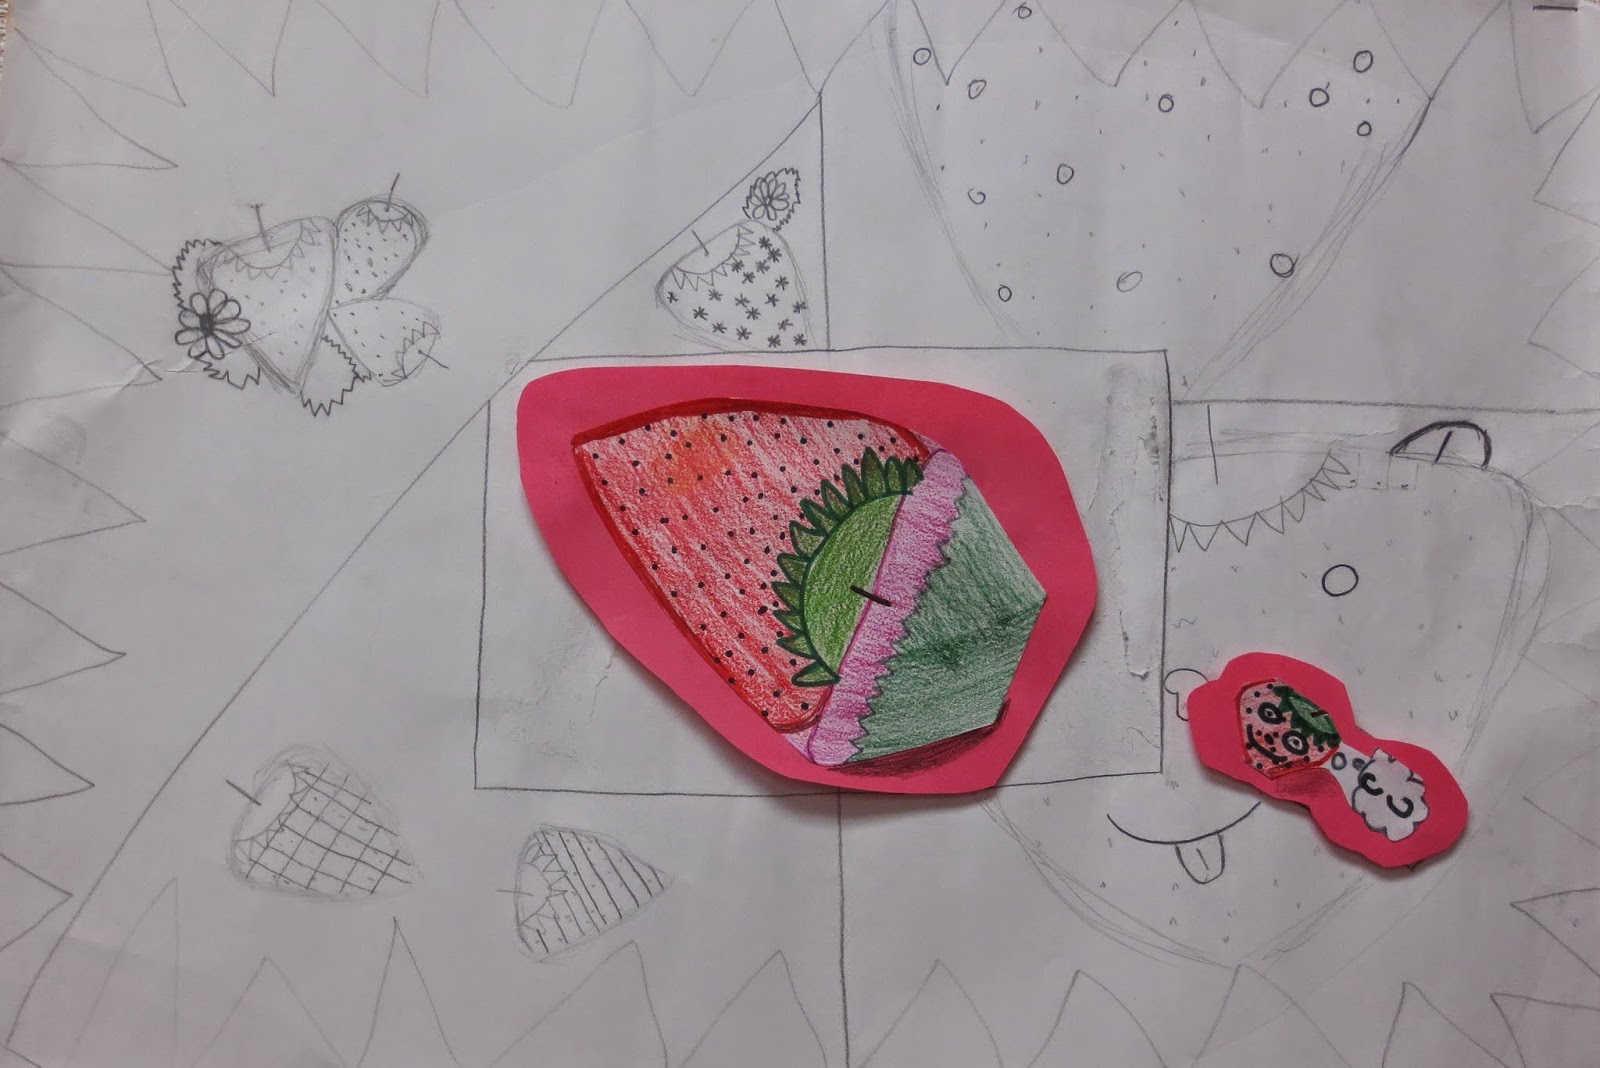
Here are a few more finished Multi-Technique Projects:


If you ever need to see where I find any of my ideas check out our Art Club Pinterest board.


Or if you need to see Day of the Dead Masks, I have many sample ideas available on my Pinterest board as well.


Be Creative Everyday!!


Monday, October 20, 2014

October 16th

We started this week by learning how to draw a few basic flowers.


Check out our Pinterest board to refer to original web sites.


Our homework this week in our sketchbooks will be to draw flowers. Different sizes and styles of flowers to fill the whole page. This is good practice for when we do our water colour post cards soon.

Then we worked on our Multi-technique pictures a little more. A few are finished and ready to be hung on the wall.


We have now started to work on our next project.....Resists. This week we will be finishing our resist projects as well as our multi-technique projects. Once those are complete we will be brain storming masks ideas. I'm hoping to design the masks this week so we can start painting them next week.


Thursday, October 9, 2014

October 9th

Today we did a quick "scribble" in our drawing lessons. Then we each took turns using our artistic talents to find hidden pictures. This exercise allows us to find the art within us as well as art from the obscure.

Today we also continued to work on our multiple technique drawings. We took a large leap forward learning to work outside the box, or actually leaping off the canvas to look beyond the basics. Keep working on finishing these projects so we can move on to a simple resist project next week. We will be using the simple leaf as our subject for our resist projects.

This weeks sketchbook assignments is to divide a sketchbook page in 2. On the first half draw a plant of your choosing. On the second half turn your plant into a "man eating" plant. With the possibilities of fangs etc.

Once I have completed the example of todays project I will post it on the blog. I'm hoping to have it up by Sunday or Monday.

Have a Happy Thanksgiving!

Tuesday, October 7, 2014

The St. Mary Art Club begins

Our Art Club is made up of students from Grades 5 to 11. We have 2 groups, the elementary kids and the high school/ junior high students. We will come up with nick names for each group this week.

So far we have had two classes and have been introduced to a few basics of drawing. We have also done a few drawing techniques to open up our drawing abilities, such as drawing with our non-dominate hand, drawing in pen (no erasing), or drawing without lifting our pencils (or pens). This helps us to think "get it on the paper" not that it has to be perfect. Basic sketches are a starting point not perfection.

We are finally working on our "first" project. I kind of jumped from testing the waters of drawing to a large piece of paper for a master piece. But it's more of an introduction to drawing techniques. I have asked the group as a whole to do the same project but have made it easier for the elementary kids and little harder for the others.


First of all, we handed out fruit pictures for the kids to be inspired from. There were choices from dragon fruit, star fruit, to apples and kiwis. There were 2 ways for the kids to tackle this project. Draw one large picture and divide it up for the techniques or divide the paper and draw individual pictures into each box. I have asked them to divide up there papers, minimum 4 for the elementary kids and 6 for the older kids. Plus they need to have 1 or 2 focal points that will be matted and popped up. I will show them that part this week, but it will look similar to this: 


Now for the techniques, they need to have 1 box for a basic sketch but the rest are up to them. Here are a few options that I gave them:

Pointilism
cartoon
geometric
watercolour
detail
swirl
or anything else they can find that interests them.

I have also let them know that not every box needs colour. Mix the boxes with black and white with a pop of colour. But they are to think this through, as see what works best with their designs. 

I look forward to seeing what they come up with. These project do not have to be finished for next class but a basic idea would be great. Anyone that is finished can move onto our next project....